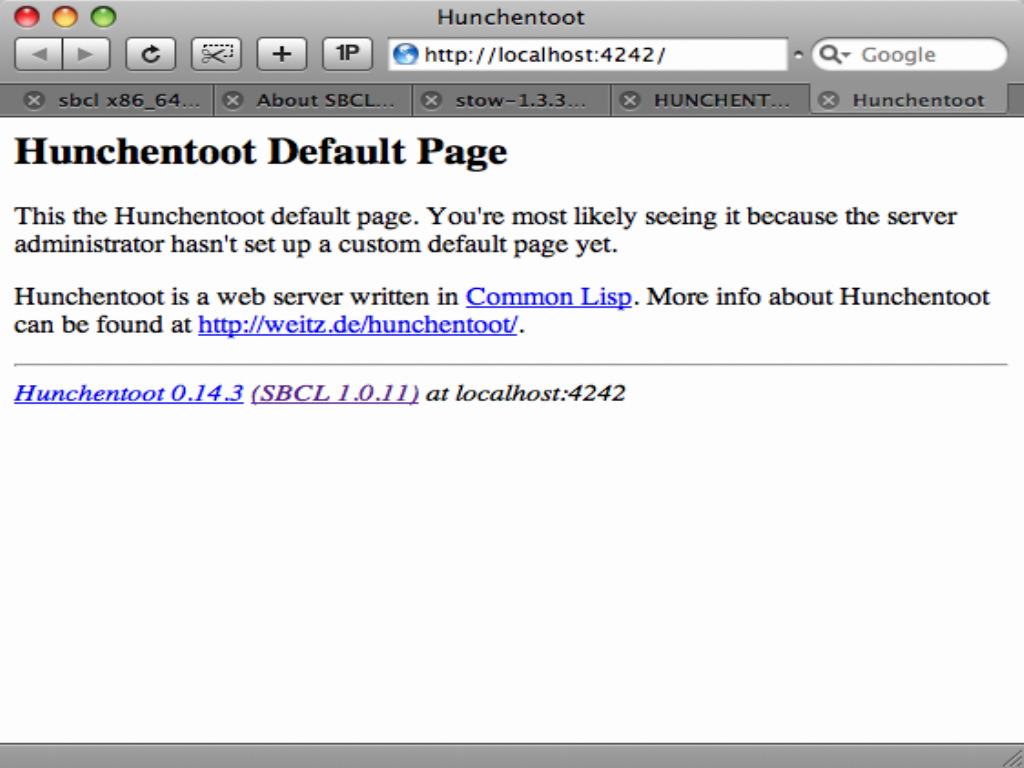
I wrote yesterday about setting up Hunchentoot, a Common Lisp web server running behind Apache, for rendering dynamic web pages in Lisp. What I neglected to mention was how one goes about coding such pages. Fortunately, that’s the easiest part of all, so I wanted to provide a very short primer on getting your first Lisp web pages up and running.
I’m going to assume that you’ve implemented every step in yesterday’s article,
including the Swank server that allows you to connect to a running Hunchentoot
server over SSH, using Emacs and SLIME. This means you’ve already opened your
SSH tunnel to the server, typed M-x slime-connect, bound it to your local
reflection port, and now have a Lisp REPL talking to your Hunchentoot server.
See yesterday’s article if you still don’t have that running yet. Or
contact me if you’re having a difficult time getting things to work.
With that setup, create a file in Emacs called webserver.lisp. If you don’t
have SLIME setup locally, try using Lisp in a Box if you’re on Windows or
Linux, or Ready Lisp if you’re on Mac OS X. You’ll know it’s all working if
you see “Slime:” in your buffer’s mode-line, indicating the Lisp buffer is
associated with your remote SLIME connection.
Now enter the following forms into your Lisp file. You could enter these into the Lisp REPL directly, but writing them in a file first is a handy way of taking notes and preserving your work in a textual form:
(defpackage :webserver
  (:use :common-lisp :hunchentoot :cl-who))

(in-package :webserver)

(setf *dispatch-table*
      (list #'dispatch-easy-handlers
            #'default-dispatcher))

(setf *show-lisp-errors-p* t
      *show-lisp-backtraces-p* t)
This sets up the basic framework for your webserver. Once saved to disk, type
C-x h to mark the entire buffer, and C-c C-r to submit the region to the
remote Lisp for evaluation. (Note: The second setq above is completely
optional, and should be removed for a production server. But having it makes
errors much easier to track down in the initial stages).
Your basic dispatcher is now setup. If you visit the home page of your
webserver, however, you’ll still see the old default page because you’re using
default-dispatcher for everything. Let’s define a new page handler that does
some work.
Below is a basic Hello World handler. Add it to the end of your file, put your
cursor anywhere within the handler’s definition, and type C-c C-c to have
SLIME compile the definition into your webserver:
(define-easy-handler (easy-demo :uri "/lisp/hello"
                                :default-request-type :get)
    ((state-variable :parameter-type 'string))
  (with-html-output-to-string (*standard-output* nil :prologue t)
    (:html
     (:head (:title "Hello, world!"))
     (:body
      (:h1 "Hello, world!")
      (:p "This is my Lisp web server, running on Hunchentoot,"
          " as described in "
          (:a :href
              "http://newartisans.com/blog_files/hunchentoot.primer.php"
              "this blog entry")
          " on Common Lisp and Hunchentoot.")))))
This kind of easy handler is just that: very easy to make. Hunchentoot also
allows for much more sophisticated handlers, about which I refer you to the documentation. But right now we just need a handler to capture requests
bound for /lisp/hello, in response to which we’ll return a Lisp-constructed
HTML page. The reason I using the path /lisp/hello here has to do with the way
my Apache is configured. If you run Hunchentoot at root level, you could use
/hello instead.
Try visiting your /lisp/hello page now. You should see a brief greeting to the
entire planet!
You may have noticed, after compiling this definition, that it warns about
state-variable not being used. There’s a good reason for that: we never used
it. So let’s further extend the example server with an input textbox and
submit button, using the state variable to get information back from the
client via HTTP POST. Notice how the :default-request-type changes to :post in
this code:
(define-easy-handler (easy-demo :uri "/lisp/hello"
                                :default-request-type :post)
    ((state-variable :parameter-type 'string))
  (with-html-output-to-string (*standard-output* nil :prologue t)
    (:html
     (:head (:title "Hello, world!"))
     (:body
      :style "margin: 20px"
      (:h1 "Hello, world!")
      (:p "This is my Lisp web server, running on Hunchentoot,"
          " as described in "
          (:a :href
              "http://newartisans.com/blog_files/hunchentoot.primer.php"
              "this blog entry")
          " on Common Lisp and Hunchentoot.")
      (:p (:form
           :method :post
           (:table
            :border 0 :cellpadding 5 :cellspacing 0
            (:tr (:td :style "text-align: right" (str "Say hello:"))
                 (:td (:input :type :text
                                    :name "state-variable"
                                    :value state-variable))
                 (:td (:input :type :submit :value "Submit"))))))
      (:p "The string you entered was: " (str state-variable))))))
If you visit my own Hunchentoot server right now, this is exactly the page you’ll see, handled by this very code (which I submitted to the server via Emacs, without ever restarting it):
And that’s that, simple web pages rendered by the multi-threaded Hunchentoot
application server. Anything not on the /lisp page is served by Apache, while
everything under “/lisp” goes to Hunchentoot. But again, this depends entirely
on how you have Apache configured.
At this point I recommend visiting the Hunchentoot and CL-WHO web pages, to learn more about what these frameworks have to offer.
For those from an ASP or PHP background: because Lisp already provides such good facilities for constructing and manipulating hierarchical data, you’ll never find yourself inserting code stubs directly into HTML code – or dealing with the kind of hacks other frameworks use that turn plain HTML into a pseudo-language for rendering lists of controls, etc. When you work in Lisp, everything is in Lisp.